MX-5 / RX-8 Manual Transmission 6-Speed Change Control Bush Replacement
This guide shows how to replace the MX-5 / RX-8 / Fiat 124 Spider 6-speed manual transmission change control bush. The bush wears over time, introducing play or vague shift feel or fail completly stoping you from shifting gears. Replacement is a quick job with basic hand tools
Tools needed
- 10mm socket/spanner
- 12mm socket/spanner
- Small flat screwdriver / trim tool
- Circlip pliers with 90 degree fingers
- Small pick tool
- Grease or oil
- Rags / degreaser
Tip: Take photos as you go so reassembly is foolproof.
Note: Work on a cool car, and keep fasteners organised (mag tray helps).
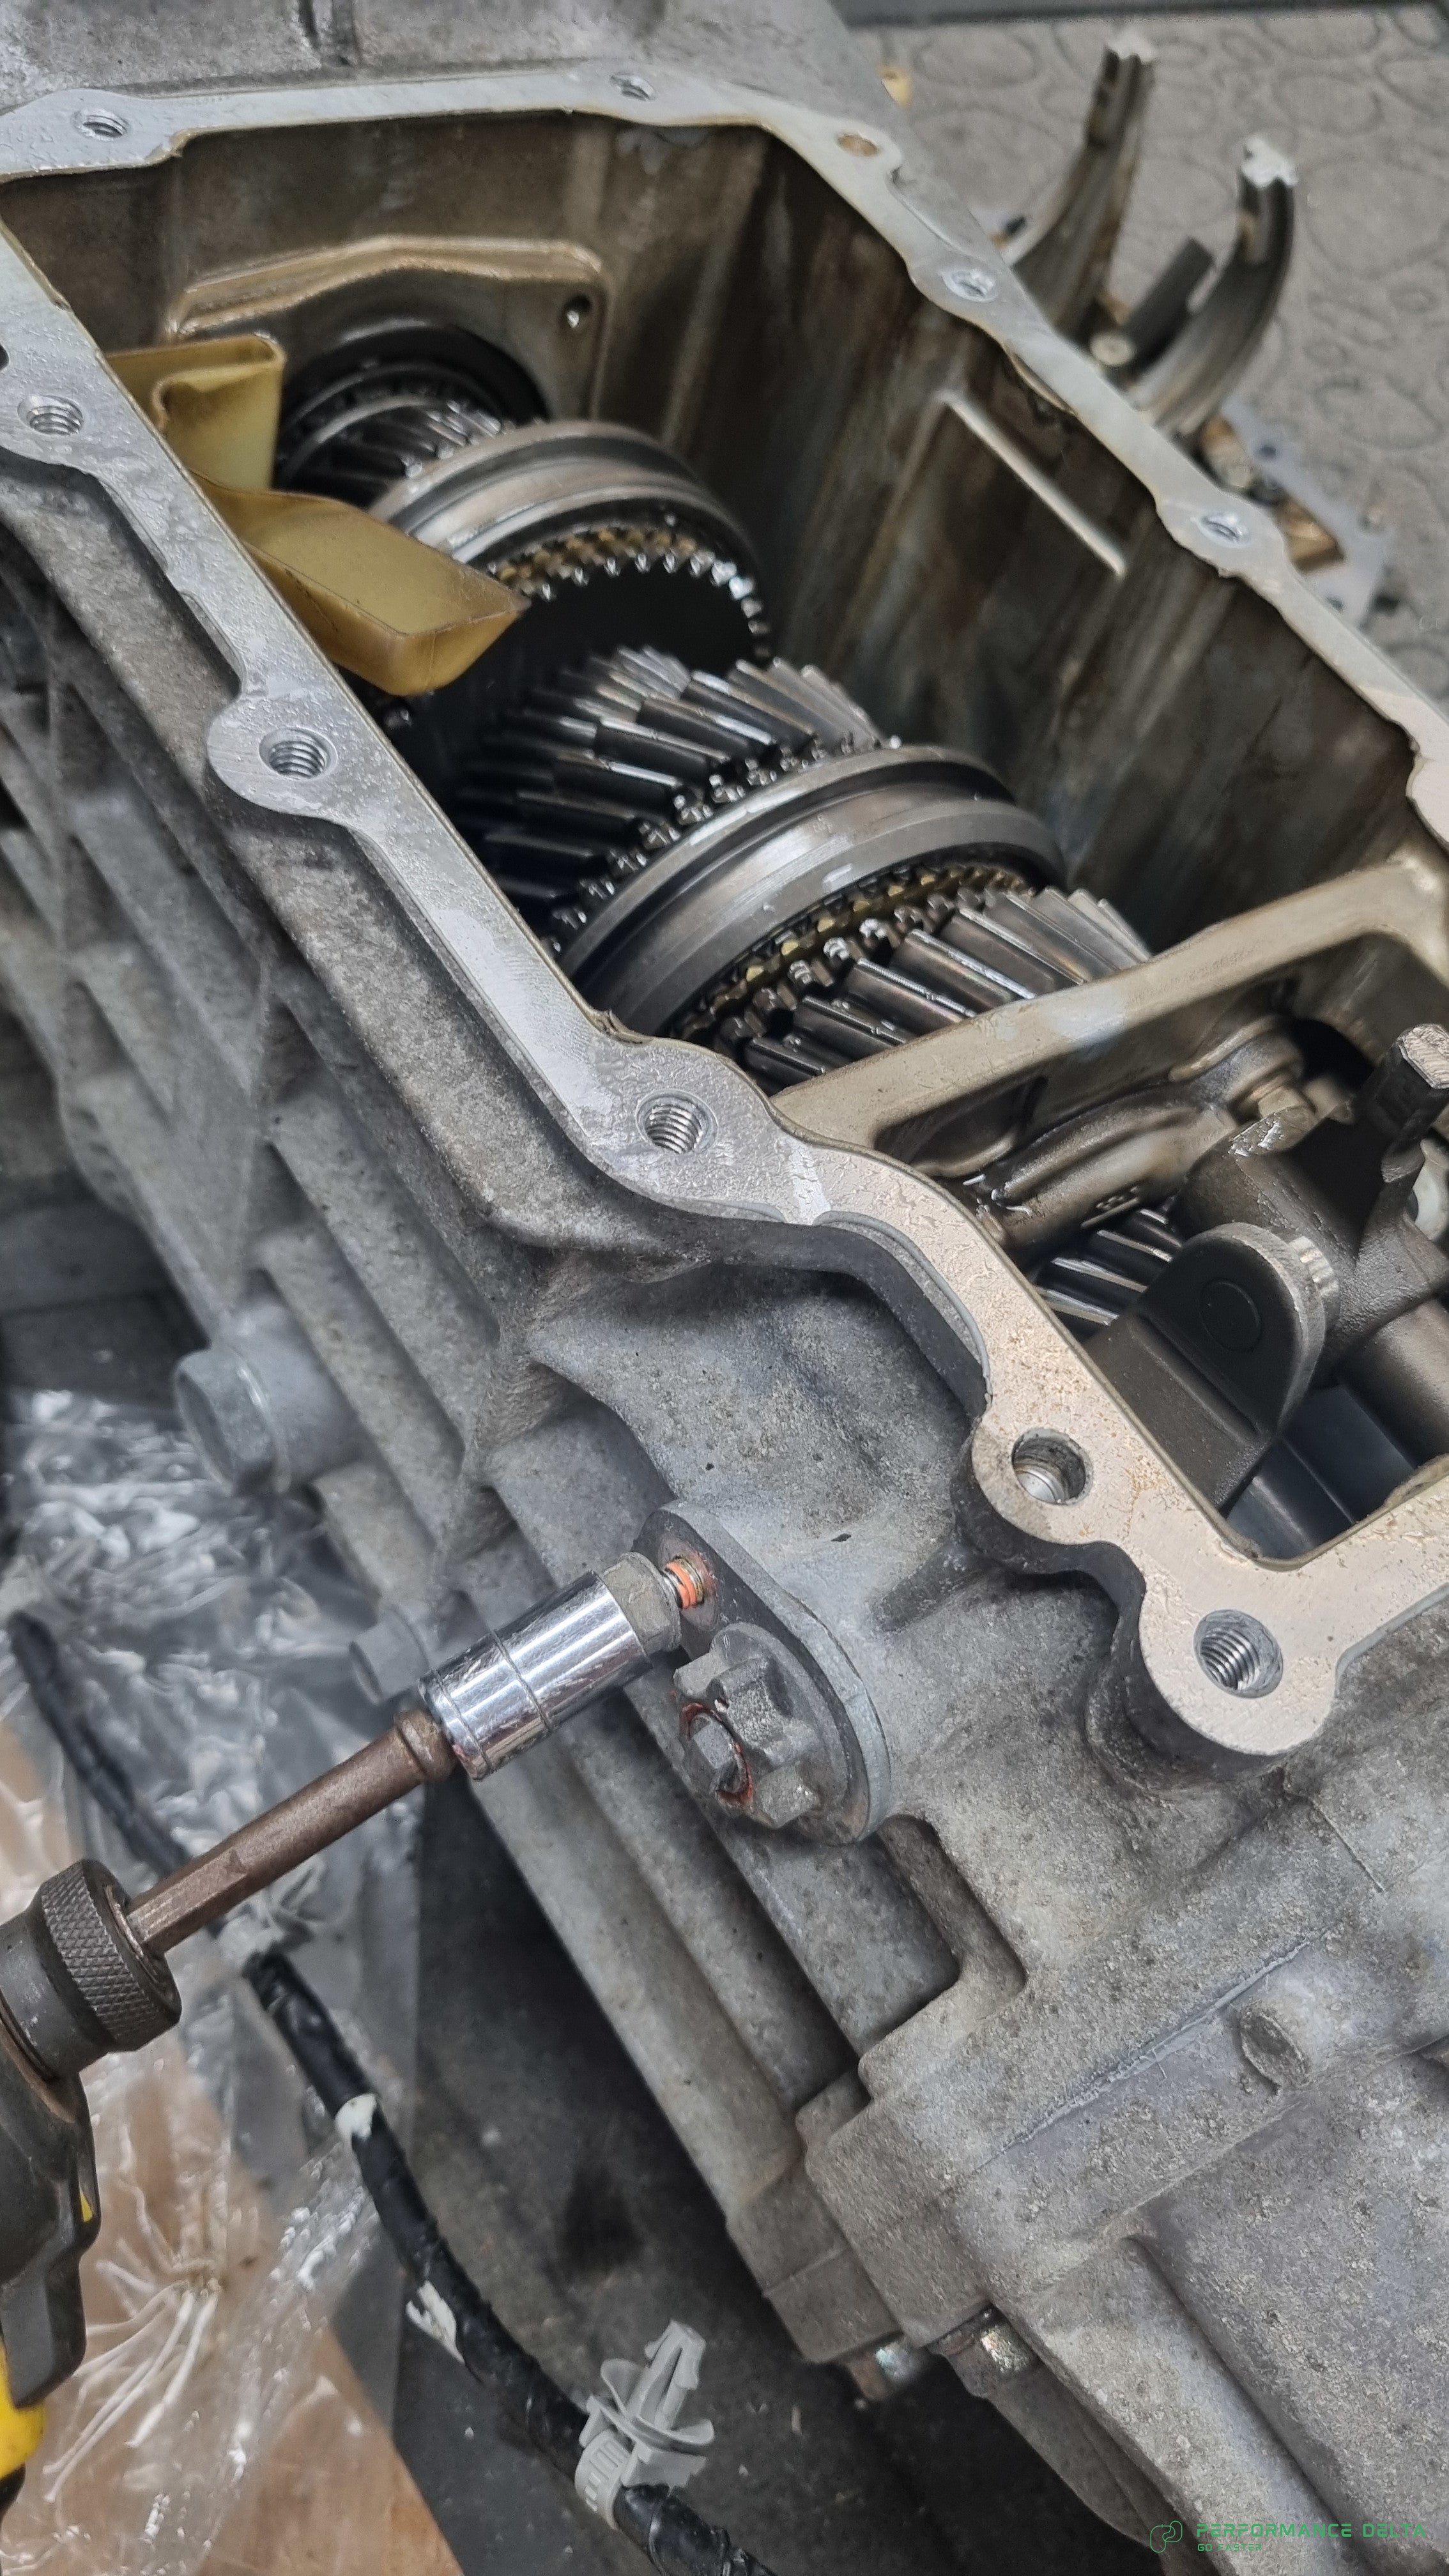
Step 1 — Access the shifter top plate area

Remove the 12mm bolts and gently pry the Change Control system from the gearbox housing and flip upside down onto a suitable work area.
Warning: Don’t drop hardware into the gearbox while the top plate is removed. Cover with a rag while you work.
Step 2 — Remove the 10mm retaining fasteners

Remove all of the 10mm bolts that hold the change control system to the top plate, making note of the oil shoot placement, and put the top plate to one side.
Step 3 — Time to drift

Use a 6mm drift to flush the top of the pin before driving through with a 3mm.
Step 4 — Fit the new change control bush

A light smear of grease or oil helps installation of the bush onto the pin.
Step 5 — 2nd bush, more drifting

Drift the pin through the selector fork and remove the rod to gain access to the 2nd bush.
Step 6 — Over half way, you can do it

Install the bush and reassemble - a drop of oil makes this easier. Then reassemble and drift through the pin.
Step 7 — Reasemble time

Once the bush is installed, you can drift the pin back through and reassemble the fork carrier to the top plate with the 10mm bolts. This concludes the assembly of these 2 bushes.
Step 8 — 3rd and 4th gear bush
Remove the 10mm bolt from the adjuster plate (no need to touch the adjuster for the bush replacement unless adjustment is needed).
Step 9 — Try not to send the c-clip flying

Remove the c-clip with a pick tool and replace the bush before reinstalling the c-clip. The selector can now be reinstalled in the gearbox with the previously removed adjustment pin. Bolt down the pin plate and add the circlip.
Step 10 — Reverse gear bush

If you've purchased our reverse gear bush, you can pry the nylon OEM bush off and push ours on. These are a tight fit, so push down against a bit of wood to seat the push on the lever pin.
Step 11 — The last step
You can now reinstall the top plate assembly with the 12mm bolts, not fogetting to use silcone to seal the top plate. Some cleaning of the old silicone will be required to ensure a flat mating surface.


